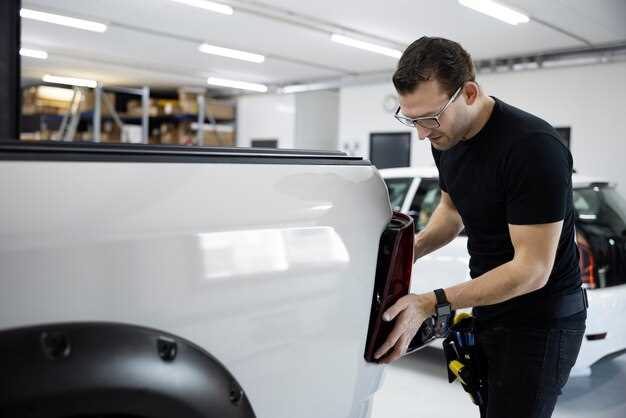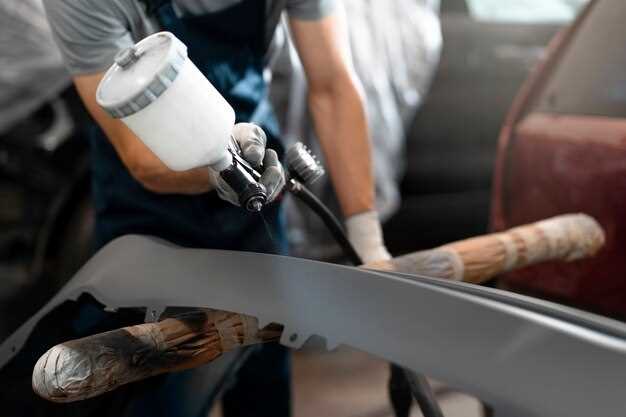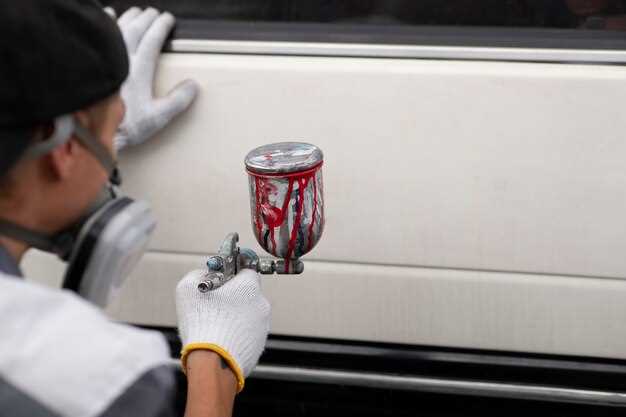
Achieving a breathtaking custom paint finish on your vehicle requires meticulous preparation and attention to detail. Before you even think about applying paint, the condition of your car’s surface plays a crucial role in the final outcome. Whether you are revamping an old classic or personalizing a new model, the proper prep work sets the foundation for a flawless appearance.
Assessing the Surface is the first step in this process. Examine your car for imperfections such as dents, scratches, and rust. These issues need to be addressed before any painting begins. Investing time in surface repairs not only enhances aesthetics but also ensures the longevity of the paint job.
Next, cleaning is vital. Thoroughly wash your vehicle using soap and water to remove dirt, grease, and other contaminants. Following this, a meticulous sanding process is essential to create a smooth surface for paint adhesion. Remember, the smoother the surface, the better the finish will be. Finally, using a primer will help the paint bond effectively, resulting in a stunning visual effect that truly reflects your style.
Evaluate and Repair Surface Imperfections
Before applying a custom paint finish, it is essential to carefully evaluate the vehicle’s surface for imperfections. Common issues to look for include scratches, dents, rust spots, and other blemishes that can affect the final appearance of the paint. Start by washing the car thoroughly to remove dirt and debris, then dry it completely. This will help you see the true condition of the surface.
Once the car is clean, inspect the surface under good lighting. Use your hands to feel for any rough textures or uneven areas. Pay close attention to panels, edges, and locations where damage is more likely to occur, such as door handles and bumpers. Document any imperfections you find so you can address them systematically.
After identifying the flaws, it’s time to repair them. For minor scratches, you can utilize a rubbing compound to polish out the imperfections. Apply the compound to a soft cloth and gently buff the area until the scratch fades. For deeper scratches, you may need to use touch-up paint that matches your vehicle’s color. Carefully apply the paint with a fine brush, allowing it to dry fully between layers.
Dents can be more challenging to fix. Depending on their severity, you may be able to use a plunger or a hairdryer combined with ice to pop out minor dents from behind. For more significant damage, consider seeking professional help or using a specialized dent repair kit. It is crucial to ensure that the surface is smooth before proceeding to paint.
Rust spots must be addressed promptly to prevent further damage. Use sandpaper to remove the rust and then apply a rust-inhibiting primer. Once the primer has dried, you can apply a base coat that matches the rest of your vehicle.
After making the necessary repairs, it is advisable to sand the repaired areas gently. This will create a seamless transition between the repaired spots and the original surface, ensuring that the paint adheres properly. Once sanded, clean the area again to remove dust and debris before moving on to the painting process.
Choose the Right Primer for Optimal Adhesion

Choosing the correct primer is crucial for achieving a high-quality custom paint finish on your vehicle. A good primer creates a strong bond between the paint and the surface, ensuring durability and resilience over time.
Understanding Types of Primers: There are primarily two types of primers: oil-based and water-based. Oil-based primers are known for their excellent adhesion and are ideal for metal surfaces. They also help seal any rust or previous paint layers effectively. In contrast, water-based primers are more environmentally friendly and quick-drying, making them suitable for projects with tight timelines, although they may require a substrate that is less porous.
Consider the Surface Material: The surface of your vehicle dictates the type of primer needed. For bare metal surfaces, an epoxy primer is recommended due to its strong adhesion properties and resistance to moisture. On fiberglass or plastic parts, a specialized plastic primer is essential to ensure proper adhesion and prevent peeling.
Check for Compatibility: Always check the compatibility of the primer with the paint you plan to use. Mismatched products can lead to issues such as poor adhesion or unfavorable reactions, affecting the overall finish. Consult with professionals or refer to manufacturer guidelines to ensure you select compatible products.
Application Technique: Proper application of the primer is equally important. Ensure surfaces are clean, dry, and free of contaminants before applying the primer. Use a spray gun for even application, and follow recommended drying times between coats. This attention to detail will enhance adhesion and create a foundation for a beautiful paint finish.
In summary, selecting the right primer is a foundational step in preparing your car for a stunning custom paint job. By understanding the types, considering the materials involved, checking compatibility, and applying appropriately, you’ll guarantee a superior adhesion and longevity of your paint finish.
Select a Quality Paint and Application Method

Choosing high-quality paint is crucial for achieving a stunning custom finish on your car. Look for paints that are specifically designed for automotive use, as they contain additives that enhance durability, UV resistance, and color retention. Brands that are well-regarded in the automotive industry include PPG, DuPont, and House of Kolor. Evaluate the type of finish you desire; options range from matte and satin to glossy and metallic. Each type provides a different aesthetic and may require specific application techniques.
Next, consider the application method. The two most common methods are spray painting and airbrushing. Spray painting is typically faster and can cover larger surfaces more efficiently, making it suitable for full car repaints. Ensure you use a quality spray gun equipped with the correct nozzle size to achieve an even coat. On the other hand, airbrushing allows for more intricate designs and detailing, making it ideal for custom artwork or accents. Regardless of the method you choose, practice on a test panel to refine your technique and achieve consistent results.
Before you start painting, proper surface preparation is essential. Ensure the surface is clean, sanded, and free of any contaminants to ensure good adhesion. Consider using a primer that complements your chosen paint to enhance the finish and longevity. Before applying the topcoat, allow sufficient curing time for the primer. This meticulous approach will set the foundation for a vibrant and lasting custom paint job.


