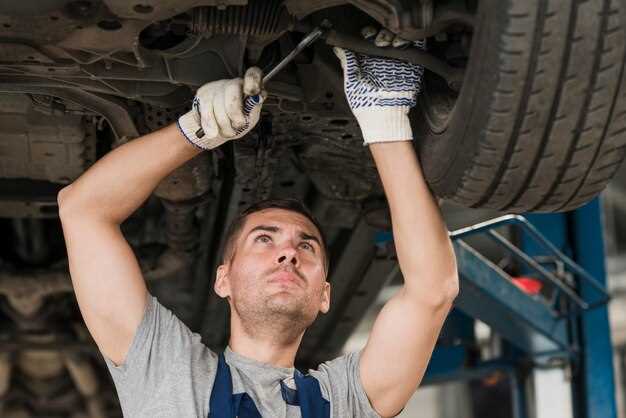
Maintaining your vehicle’s steering system is crucial for ensuring safety and performance on the road. One of the key components in this system are tie rod ends, which connect the steering gear to the wheels. Over time, these components can wear out due to friction, stress, and environmental factors, leading to compromised steering precision and safety.
Recognizing the symptoms of worn tie rod ends is the first step in maintaining your vehicle’s integrity. Common signs include uneven tire wear, poor steering response, and noticeable vibration while driving. If you experience any of these issues, it may be time to replace your tie rod ends to restore optimal driving conditions.
This guide provides you with a detailed, step-by-step approach to replacing worn tie rod ends. Whether you’re a seasoned mechanic or a DIY enthusiast, understanding the process will empower you to tackle this essential maintenance task confidently. By following this guide, you can ensure your steering system functions smoothly, enhancing both safety and drivability on the roads.
How to Identify Worn Tie Rod Ends in Your Vehicle

Worn tie rod ends can lead to serious handling issues in your vehicle, so it’s essential to recognize the signs of wear. Start by inspecting for any visible damage, such as cracks or fraying on the rubber boots that cover the tie rod ends. These boots are crucial for keeping dirt and moisture out, and any damage can indicate that the tie rod ends are compromised.
Next, assess the vehicle’s steering feel. A vague or loose steering response can be a symptom of worn tie rod ends. If the steering feels less precise or pulls to one side, it could indicate that the tie rods are not functioning properly.
Perform a visual alignment check by observing the wear patterns on the tires. Uneven or excessive tire wear, particularly on the inner or outer edges, can suggest that the tie rods are malfunctioning and might need replacement.
When parked, grasp the tire at the 9 and 3 o’clock positions and wiggle it. Any noticeable play or movement may signal that the tie rod ends are worn. Additionally, listen for any clunking or rattling noises when turning the steering wheel, which can also indicate wear.
For a more thorough examination, consider having an alignment performed. Technicians use specialized equipment to check for alignment issues caused by worn tie rods. If there are any discrepancies, it’s advisable to inspect the tie rod ends at that time.
Step-by-Step Process for Replacing Tie Rod Ends

Replacing tie rod ends is essential for maintaining proper steering and alignment in your vehicle. Follow these systematic steps to ensure a successful replacement.
Step 1: Gather Necessary Tools and Materials
Before beginning, collect the following tools: a socket set, torque wrench, tie rod end puller, ball joint separator, and a grease gun. Make sure to have new tie rod ends and possibly new jam nuts, depending on their condition.
Step 2: Raise the Vehicle
Use a car jack to lift the vehicle and secure it with jack stands. Ensure the vehicle is stable before starting any work.
Step 3: Remove the Wheel
Take off the wheel to access the tie rod ends. This usually involves loosening the lug nuts with a socket wrench and removing them completely.
Step 4: Locate the Tie Rod End
Identify the outer tie rod end connected to the steering knuckle and the inner tie rod end that leads towards the steering rack.
Step 5: Disconnect the Tie Rod End
Using a tie rod end puller or ball joint separator, separate the tie rod end from the steering knuckle. If necessary, tap the tool gently with a hammer to loosen it. Avoid damaging the components.
Step 6: Remove the Old Tie Rod End
Unthread the old tie rod end from the inner tie rod. Count how many turns it takes to ensure proper alignment when installing the new one.
Step 7: Install the New Tie Rod End
Thread the new tie rod end onto the inner tie rod. Make sure to screw it in the same number of turns as the old one for proper alignment. Tighten it firmly but do not overtighten.
Step 8: Reconnect the Tie Rod End
Position the new tie rod end in the steering knuckle and secure it using the nut. Tighten according to manufacturer specifications.
Step 9: Reinstall the Wheel
Once all connections are secure, put the wheel back on the hub. Hand-tighten the lug nuts before lowering the vehicle.
Step 10: Lower the Vehicle and Tighten Lug Nuts
Remove the jack stands and carefully lower the vehicle. Once it is on the ground, use a torque wrench to tighten the lug nuts to the recommended specification.
Step 11: Perform a Wheel Alignment
After replacing tie rod ends, always have a professional perform a wheel alignment to ensure proper handling and tire wear.
By following these steps, you can effectively replace worn tie rod ends and restore your vehicle’s steering performance.
Tools and Parts Required for Tie Rod End Replacement
Replacing tie rod ends requires a specific set of tools and parts to ensure the job is done correctly and efficiently. Below is a detailed list of what you will need.
Tools:
- Socket Set: A ratchet and various sized sockets are essential for removing nuts and bolts associated with the tie rod end.
- Wrench Set: An assortment of open-end and box wrenches will help in loosening stubborn connections.
- Ball Joint Separator: A tool specifically designed to separate tie rod ends from the steering knuckle; it is often referred to as a pickle fork.
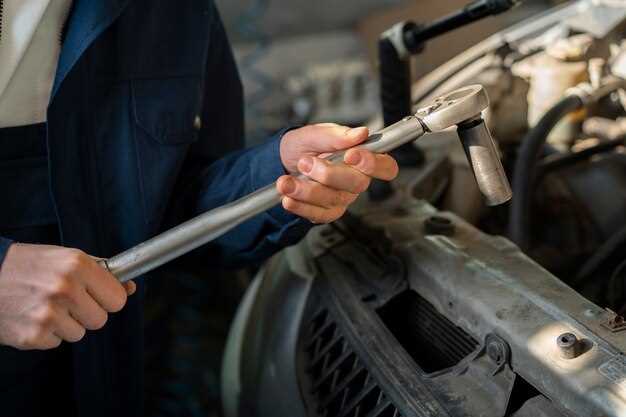
- Torque Wrench: Ensures that new tie rod ends are tightened to the manufacturer’s specified torque, preventing future issues.
- Pry Bar: Useful for gaining leverage if any components are stuck or need extra force to separate.
- Hammer: A soft-faced hammer can help in dislodging components without causing damage.
- Measuring Tape: Essential for measuring the old tie rod ends and aligning the new ones to maintain proper wheel alignment.
- Safety Gear: Gloves and safety glasses should be worn to protect against injury during the replacement process.
Parts:
- New Tie Rod Ends: Ensure you purchase the correct type, as there are inner and outer tie rod ends that differ by vehicle make and model.
- Alignment Kit: If your vehicle requires precise alignment post-replacement, consider an alignment kit that may include shim kits or alignment rods.
- Grease: Some tie rod ends come with grease fittings; if so, have appropriate grease on hand to lubricate the new parts.
- Lock Nuts: These may need to be replaced to ensure secure connections, depending on their condition during removal.
- Dust Boots: New dust covers may be necessary to protect the tie rod ends from dirt and debris after installation.
By gathering all necessary tools and parts before starting the replacement process, you can streamline the task, reduce interruptions, and ensure a successful installation of new tie rod ends.


