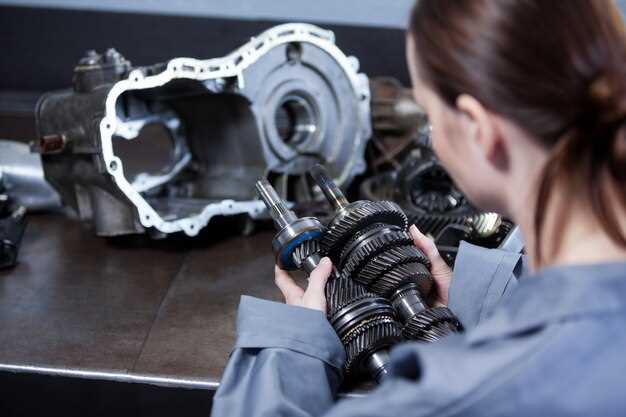
Upgrading your engine’s crankshaft is a crucial step for automotive enthusiasts looking to enhance their vehicle’s performance. The crankshaft is a fundamental component responsible for converting linear motion into rotational motion, thus playing a vital role in the engine’s overall functionality. An upgraded crankshaft can lead to improved power output, increased torque, and greater engine reliability, making it a worthy investment for anyone serious about performance modifications.
In this comprehensive guide, we will take you through the entire process of upgrading your crankshaft, ensuring that you have the necessary knowledge and tools to do it safely and effectively. Whether you are a seasoned mechanic or an ambitious DIYer, our step-by-step instructions will help demystify the complexities involved in this critical upgrade. You’ll learn about the different types of crankshafts available, the advantages each type brings, and how to choose the right one for your specific application.
Before diving into the actual installation process, it’s essential to understand the mechanics behind crankshaft upgrades. Factors such as the material composition, weight, and design can significantly influence your engine’s performance. By the end of this guide, you’ll not only have practical insights into the installation but also a deeper appreciation of how your crankshaft contributes to your engine’s capabilities. Prepare to elevate your automotive game as we embark on this journey of engine enhancement together.
Choosing the Right Crankshaft for Your Engine Type

Selecting the appropriate crankshaft is crucial for maximizing your engine’s performance and ensuring durability. The right crankshaft depends on various factors, including engine type, intended use, and power goals. Understanding these aspects will help you make an informed decision.
1. Engine Configuration: Different engines, such as inline, V-type, or flat-configurations, require specific crankshafts tailored to their design. Ensure that the crankshaft matches your engine’s configuration to ensure proper fit and function.
2. Material: Crankshafts are typically made from cast iron, forged steel, or aluminum. While cast iron offers good strength and durability for standard applications, forged steel is preferred for high-performance builds due to its higher tensile strength and resistance to bending. Consider the demands of your engine when selecting the material.
3. Stroke Length: The stroke length of the crankshaft significantly impacts engine displacement and power output. A longer stroke can increase torque, whereas a shorter stroke typically enhances high RPM performance. Assess the desired torque and power characteristics to choose an optimal stroke length.
4. Crankshaft Journals: Pay attention to the specifications of the crankshaft journals, including their size and spacing. These details must match your engine’s design to ensure proper lubrication and minimize wear. Mismatched journals can lead to severe engine damage.
5. Balancing: Choosing a well-balanced crankshaft is essential for maintaining engine smoothness and longevity. A crankshaft that is poorly balanced can cause excessive vibration and lead to premature wear on engine components. Consider either a factory-balanced option or a custom balancing solution based on your build.
6. Brand and Quality: Reliability and performance often vary by manufacturer. Investing in high-quality crankshafts from reputable brands can prevent future problems. Research and read reviews to find a trustworthy supplier known for performance and innovation.
By carefully considering these factors when selecting a crankshaft, you can enhance the performance and reliability of your engine, tailoring it to meet the specific demands of your driving style or racing application.
Preparing Your Engine for Crankshaft Replacement
Before embarking on the crankshaft replacement process, it is crucial to prepare your engine properly to ensure a smooth and efficient operation. First, disconnect the negative battery terminal to prevent any electrical shorts. This step is essential for your safety while working on the engine.
Next, drain the engine oil and coolant. Use a drain pan to collect the fluids safely, minimizing spills that can lead to hazardous conditions. Ensure the engine is cool before proceeding to avoid burns.
Remove any components obstructing access to the crankshaft. Typically, this includes the oil pan, timing cover, and possibly the cylinder heads. Use appropriate tools to detach these components carefully, ensuring to keep track of bolts and screws for reassembly.
Inspect the existing components for wear or damage. Check the oil pump, bearings, and seals, as these may need replacement during the crankshaft installation. This step can prevent future issues and ensure optimal engine performance.
Once everything is disassembled, clean the engine block thoroughly. Remove any old gasket material or debris to create a clear surface for the new crankshaft installation. This will promote better sealing and enhance the engine’s longevity.
Finally, consult your engine’s service manual for specific specifications regarding torque settings and installation procedures. Preparing in this manner will streamline the crankshaft replacement process and contribute to a successful upgrade.
Installing the New Crankshaft and Final Checks

Once you have prepared everything and your new crankshaft is ready, it’s time to install it. Follow these steps carefully to ensure a proper installation.
-
Clean the Crankcase:
- Remove any debris and old gasket material from the crankcase.
- Use a lint-free cloth to wipe down surfaces to prevent contaminants.
-
Prepare the New Crankshaft:
- Inspect the crankshaft for any damage or imperfections.
- Apply assembly oil to the main bearings and journals to ensure proper lubrication.
-
Install the Crankshaft:
- Carefully lower the crankshaft into the crankcase, ensuring it aligns with the main bearings.
- Rotate the crankshaft gently to ensure it seats properly.
-
Install the Main Bearings:
- Place the new main bearings into their respective locations on the crankcase.
- Align them according to the manufacturer’s specifications.
-
Secure the Crankshaft:
- Install the main cap and bolts, tightening them to the specified torque settings.
- Follow the manufacturer’s sequence for tightening to prevent misalignment.
-
Install Additional Components:
- Reinstall any components that were removed, such as oil pans or engine covers.
- Ensure all gaskets and seals are replaced to prevent leaks.
After the installation, conduct the following final checks:
-
Verify Torque Specifications:
- Double-check that all bolts are tightened to the correct torque specifications.
-
Check for Obstructions:
- Ensure there are no tools or foreign objects left in the engine bay.
-
Inspect Fluid Levels:
- Check oil levels and top off if necessary before starting the engine.
- Make sure all other fluids are at appropriate levels.
-
Initial Start-Up:
- Start the engine and listen for any unusual noises.
- Monitor oil pressure and temperatures to ensure everything is functioning correctly.
Follow these steps diligently for a successful crankshaft installation and to maintain engine performance. Patience and attention to detail will yield the best results.


